Wednesday 23 September 2015

On My Craft Table - Snail Mail Booklet


More snail mail thingies...


So I've been a busy bee with my creative snail mail again. I'm enjoying myself immensely!

I have created another snail mail booklet for one of my lovely pallies in the UK with a cute Paris theme.


I used the Dovecraft Sweet Paris collection which I'm loving so much! It's so pretty and you get LOADS of papers in each pack - I have all the sizes, that's how much I love this collection! 

So wanna know I made this lovely booklet?

Keep reading and find out, eh?


Supplies I used -

♥ Scissors
♥ Paper cutter / scoring board (I used the WRMK scoring and paper cutter)
♥ Glue stick
♥ Black 12'' by 12'' cardstock
♥ Tape runner and/or scor tape
♥ Magnets (the larger size)
♥ Dovecraft Sweet Paris collection
♥ Tim Holtz Distress ink vintage photo
♥ Project life cards - grid 4''6 (for the letter)


I folded my cardstock to the desired size that I wanted my flaps. 

To create the pocket I folded the bottom up to the size that would fit the Project life grid cards. 

To reduce bulk I cut the fold on the sides.


I then used the scor tape to stick down the fold.

(The tidy version)


I then put the magnets on to the front flaps to use as a closure. (Tip - the easiest way I have found to measure the position exactly is to stick one of the flaps magnets down then put the other magnet on top of the first then peel back the sticky bit of the magnet and close the other flap on top)


Then I started to make it pretty! ♥


I also made another pocket letter! (I know, I seem to be doing loads of them recently! I just love 'em!)


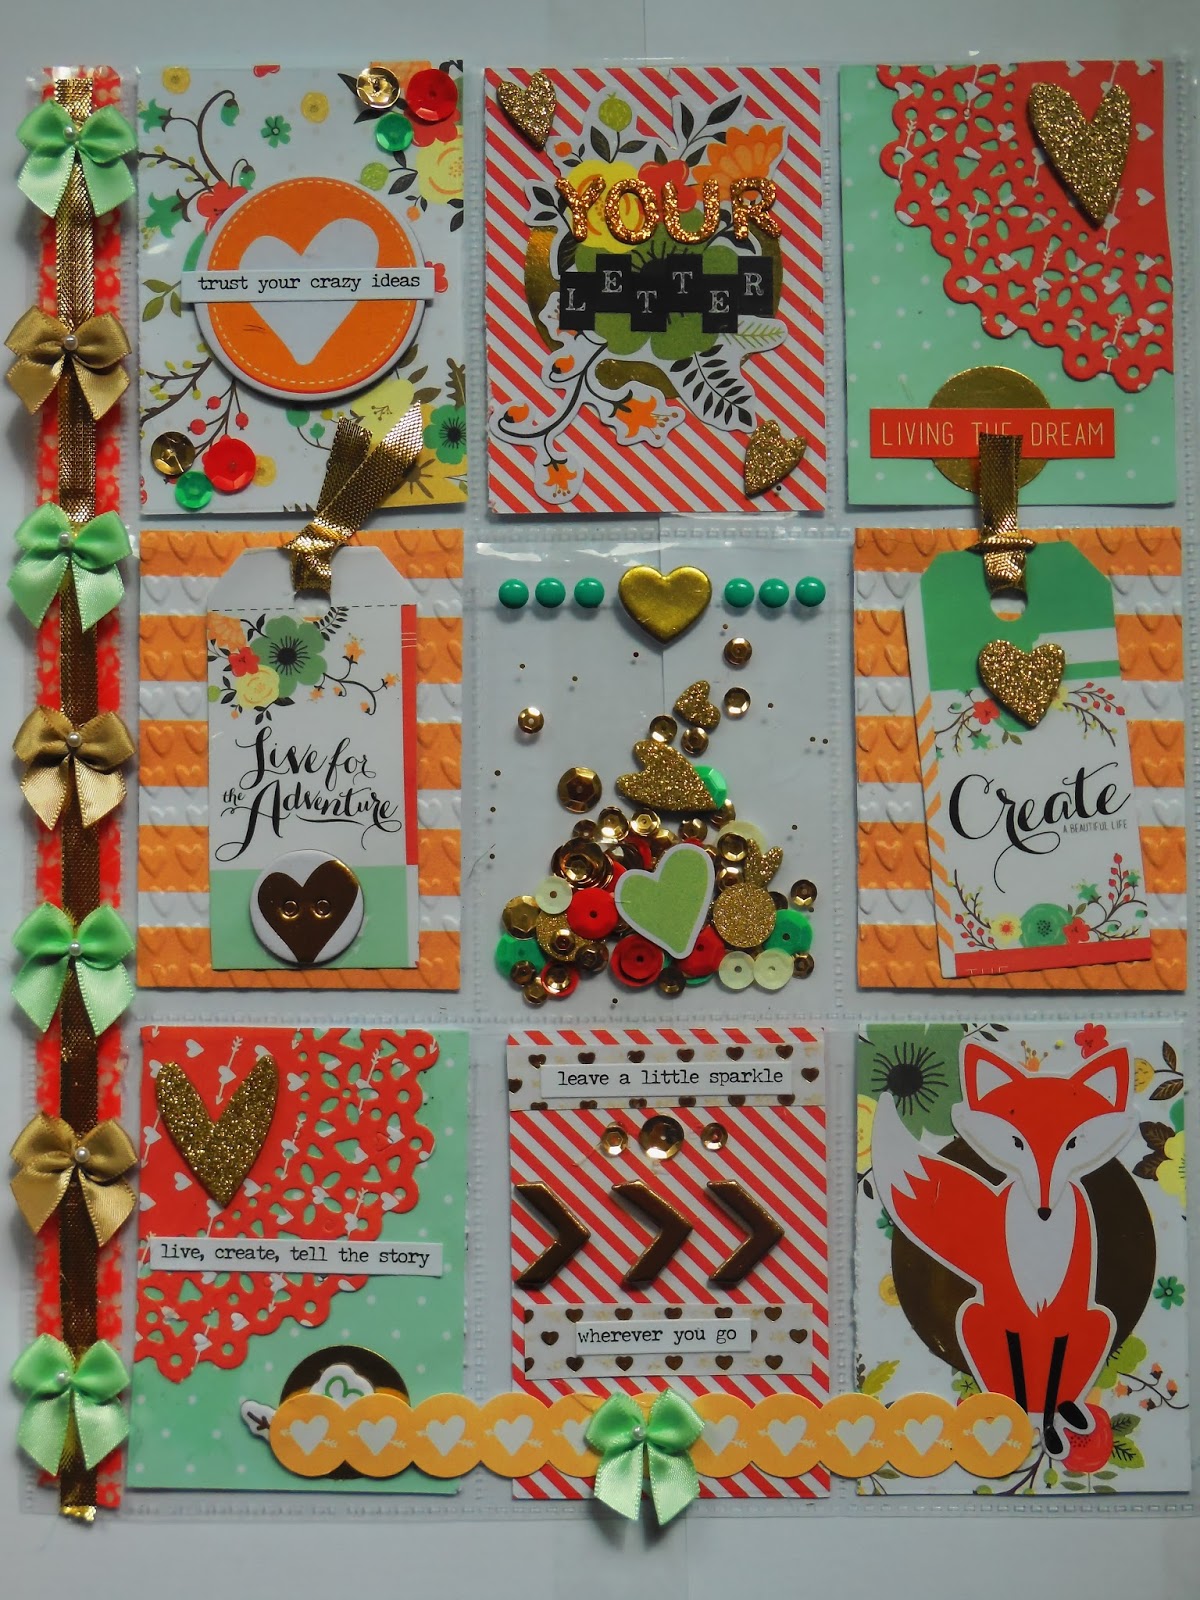
This one has a gold, peach and mint them (these being my favourite colours at the moment!). I used the Teresa Collins Nine and Co. collections. Love, love, LOVE this collection!

The shaker pocket is done by using the We R Memory Keepers photo sleeve fuse tool.

I used my Big-Shot die cut machine to cut out the doily and tag die-cuts.


Tuesday 22 September 2015

Mixed Media Autumn Heart


So I got my paints out!

I've had this wicker heart sitting in my drawer for months...maybe even a year and I was kind of feeling a little bit sorry for it lying there...all naked...looking very sad...poor sad, lonely naked heart....

So I decided to make it a happy heart and cover it in lovely autumn colours! (big, big love for autumnal colours!)

So here's the things I used:

♥ Silks acrylic glaze - Autumn Leaf
♥ Silks acrylic glaze - Ginger Peach
♥ Copper coloured wire (22 gauge)
♥ Different autumnal coloured and types of beads.
♥ Petaloo Botanica Mini flowers - Cranberry/Amber/Orange
♥ Prima Medley Leaf Stems - MIDAS
♥ Prima Aglow Metallic Leaf With Glitter & Wire Stem - Coffee Bean 
♥ Wild Orchid crafts mixed red open roses (10mm)


So to started I painted the heart with silks autumn leaf waited for it to dry then painted ginger peach on top. I did this  multiple times until I had the desired colour.

I only painted the front because I don't think I'd ever see the back and being as I have a busy life (thank you work!) I didn't want to spend all my time painting. (I know, lazy right?)

I then strung beads on wire and wrapped it around the heart. I positioned the beads so they were at the front. To keep them from moving around bent the wire into the heart gently. You can do this with your fingers but I ended up splitting a lot of my nails so if you're quite precious about your manicure use jewellery making pliers. 


(Heart when painted and wrapped with the beaded wire)


I made sure I left space on the places where I wanted to put my flowers and leaves (I figured there was no point if I was only going to cover them in the end - that way you don't waste beads because wasting beads is a very sad thing...)


I then decided on the positioning of my flowers and leaves and used a glue gun to stick it down.


I'm entering my autumnal heart in the That's Crafty Lovely leaves challenge

Have a lovely Autumn!


© Candy Rain Theme 2017
By Cherry Templates.
Candy Rain